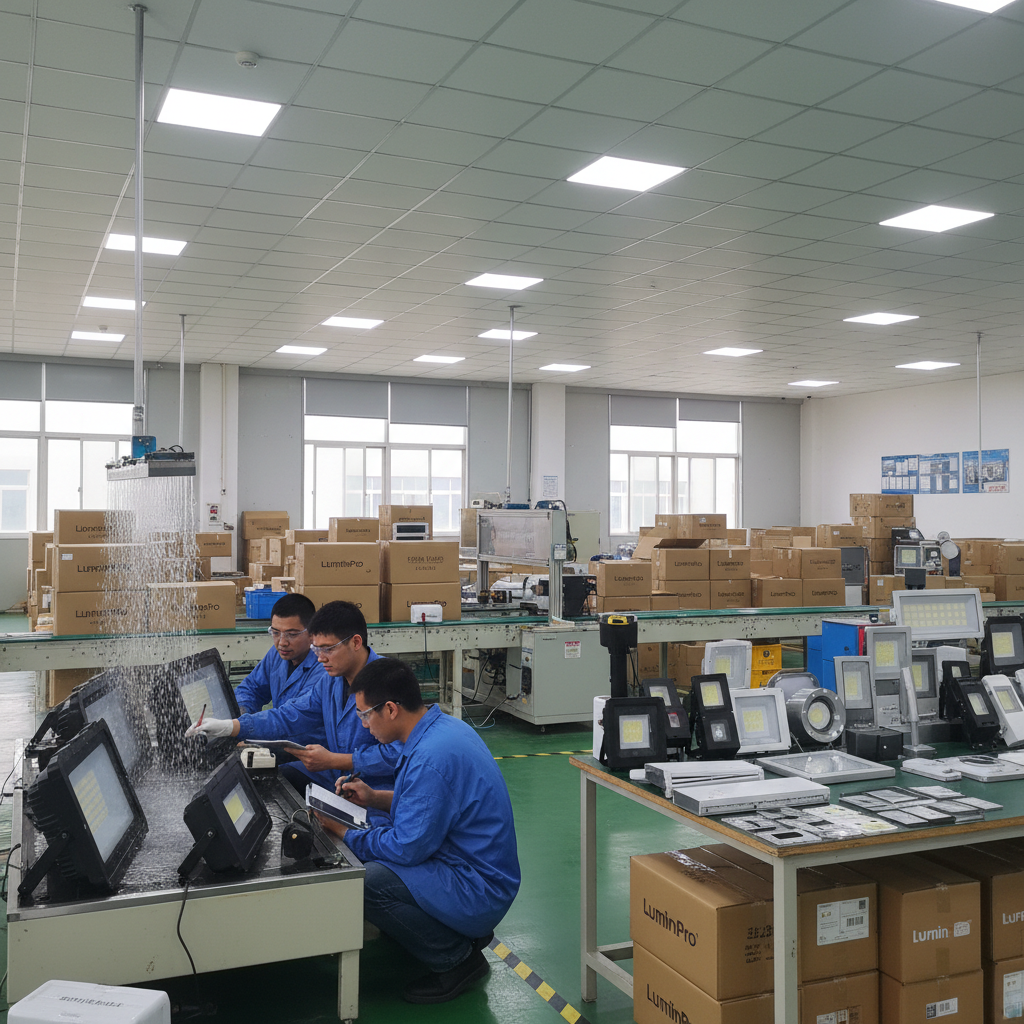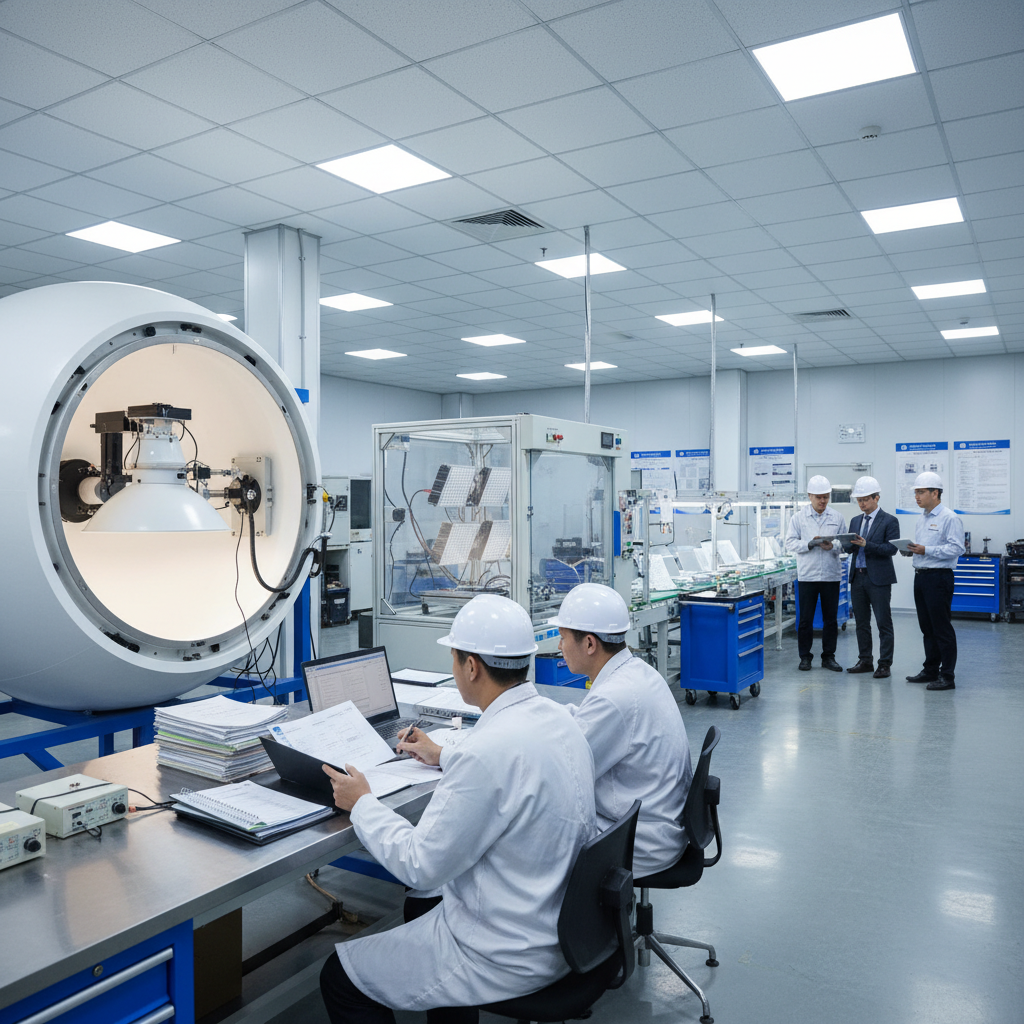

Ever felt the weight of a big lighting project hanging over your head, both literally and figuratively? I've been there.
Installing high bay LED lights requires proper planning, including assessing the mounting height, spacing, and electrical load. Key steps include selecting the right fixture type, preparing the installation site, wiring the fixtures securely, and testing for optimal light distribution. Use high-quality components to ensure safety, durability, and energy efficiency in industrial or commercial spaces.
Imagine standing in a cavernous warehouse, staring up at those high ceilings, wondering how on earth you're going to get those high bay LED lights installed. I remember feeling just as daunted when faced with my first big lighting project. But, with the right approach, it can be a rewarding experience. Let's break it down together.
First, it's all about planning. I learned that understanding your space is crucial—knowing the height and layout helps in choosing the right fixtures and wattage. Then, there's the actual installation. It's vital to securely mount the fixtures, ensuring they’re spaced correctly for uniform illumination. Of course, safety is paramount, so always follow electrical codes during wiring. Trust me, once you’ve got these steps down, you’ll not only brighten up the room but also gain a new skill in the process.
High bay LED lights are ideal for ceilings over 15 feet.True
High bay LED lights are designed for high ceilings, typically over 15 feet.
Ignoring electrical codes in installation is recommended.False
Following electrical safety codes is crucial to ensure a safe installation.
What Pre-Installation Planning is Needed for High Bay LED Lights?
Ever found yourself staring up at those towering ceilings, wondering how on earth to light them efficiently? It's a puzzle I've tackled more times than I can count.
Pre-installation planning for high bay LED lights means figuring out the perfect mounting height and spacing, picking the right fixture type, and ensuring everything works with your existing electrical setup. Safety first!

Assessing Mounting Height and Fixture Spacing
I remember the first time I had to plan the lighting for a massive warehouse. The sheer height of the place made my head spin. But here's what I learned: getting the mounting height right is crucial for those high bay LED lights1. Typically, you're looking at a range between 15 to 40 feet. The higher the ceiling, the more wattage and a narrower beam angle you'll need for optimal coverage.
| Mounting Height | Recommended Wattage | Beam Angle |
|---|---|---|
| 15-20 feet | 100-150 watts | 90°-120° |
| 21-30 feet | 150-200 watts | 60°-90° |
| 31-40 feet | 200-400 watts | 30°-60° |
It's like playing Tetris with light fixtures; you want to space them out just right. For example, if you're mounting them at 20 feet, you might need about 10 to 15 feet between each fixture to keep everything bright and even.
Selecting the Right Fixture Type
Choosing between linear and round high bays is like deciding between sneakers and boots—each has its place. If you're dealing with open areas, round high bays are your go-to. But if you're lighting up aisles, like in a retail store, linear high bays are the way to go.
- Round High Bays: Perfect for warehouses or gyms.
- Linear High Bays: Ideal for retail aisles or narrow spaces.
Installation Tools and Safety Measures
Gathering the right tools feels like prepping for a DIY home project. You’ll need a ladder, drill, mounting brackets, wiring tools, and a voltage tester. Think of it as assembling your toolkit of success.
Safety Measures:
- Always disconnect power before diving in.
- Adhere to local electrical codes religiously.
- Ensure everything jives with your current electrical system (like matching power supply voltage).
Wiring and Fixture Compatibility
You definitely don’t want a mismatch here—it’s crucial that your fixtures are compatible with your existing setup. Double-check that your power supply meets your fixture's voltage needs, typically around 100-277V. In damp spots, make sure you’re using waterproof connectors to ground things properly.
| Fixture Type | Voltage Range |
|---|---|
| High Bay LEDs | 100-277V |
| Compatible Fixtures | Verify before purchase |
Doing all this prep helps dodge common installation challenges2, like circuit overloads or spotty light distribution. Taking the time to plan thoroughly makes all the difference in achieving efficient lighting and energy savings.
Mounting height affects LED wattage needs.True
Higher mounting heights require more wattage for adequate illumination.
Linear high bays are ideal for open spaces.False
Linear high bays are best for aisles, not open spaces.
How Can I Safely Install High Bay LED Lights?
Installing high bay LED lights is like tackling a puzzle on a towering stage. It demands not just skill but a dash of bravery and an eye for detail. Let's ensure we do it safely, together.
To safely install high bay LED lights, first disconnect the power source. Use proper tools, check electrical compatibility, and adhere to local codes. Secure fixtures meticulously and conduct thorough testing post-installation.

Pre-Installation Planning
When I first tackled installing high bay LED lights, I realized planning was everything. I remember staring up at the ceiling, wondering if my ladder was tall enough. These lights are usually perched between 15-40 feet high, so determining the right height is crucial. Imagine trying to light up a massive warehouse with just a few bulbs—you'd want the right wattage3 and beam angle for perfect coverage. And let's not forget spacing; getting it just right makes all the difference.
Essential Tools and Preparations
It's funny how many times I've climbed halfway up a ladder only to realize I forgot the drill. It's vital to have your toolkit ready: ladder, drill, mounting brackets, wiring tools, and a voltage tester. One thing I've learned is always to double-check that your fixtures match the electrical system's voltage. Trust me, finding out that your setup isn't compatible after installation is a headache you don't want.
| Tool | Purpose |
|---|---|
| Ladder | Access high ceilings safely |
| Drill | Create holes for mounting brackets |
| Voltage Tester | Confirm that power is disconnected |
Implementing Safety Measures
Before diving in, I always remind myself of one golden rule: disconnect the power source. There's nothing like peace of mind knowing you're protected from any unexpected shocks. Following local electrical codes might sound boring, but it's all about ensuring everyone stays safe. A pair of gloves and safety goggles have become my best friends on these jobs.
Installation Procedures
Mounting the Fixture:
Mounting these heavy-duty fixtures can feel like a workout session. Whether using hooks, chains, or brackets, making sure they're secure is key. During one install, I spent extra time double-checking each fixture's stability because safety always comes first.
Wiring Connections:
Wiring might seem straightforward, but proper grounding is essential. Using waterproof connectors has saved me countless times in damp areas—preventing faults and headaches.
Post-Installation Testing and Adjustments
Once everything is in place, turning on the power feels like that moment before a big reveal. I carefully inspect each fixture to ensure they're working flawlessly and providing uniform lighting. Adjusting their orientation might seem minor, but it perfects the overall ambiance.
Regular Maintenance Practices
Regular check-ups are part of my routine now. Dust buildup or loose connections can sneak up on you, affecting performance over time. Even though LEDs boast long lifespans of over 50,000 hours, a little maintenance goes a long way in keeping things efficient.
Exploring smart control options4 has also become part of my strategy to enhance energy efficiency post-installation. It's fascinating how technology can seamlessly integrate with our setups, saving energy while optimizing performance.
High bay lights are installed at 15-40 feet.True
High bay lights are typically mounted at heights between 15 to 40 feet.
Voltage for high bay fixtures ranges from 50-100V.False
The common voltage range for high bay fixtures is 100-277V.
What Tools Do I Need for Installing High Bay LED Lights?
Have you ever found yourself squinting up at high ceilings, wondering how to get those high bay LED lights installed without a hitch? It's all about having the right tools in your toolkit.
To install high bay LED lights, you'll need a sturdy ladder, a reliable drill, compatible mounting brackets, essential wiring tools, and a voltage tester. These ensure a safe and efficient setup while meeting electrical standards.
%[Well-organized workspace for installing high bay LED lights]!
My Go-To Tools for Installing High Bay LED Lights
I remember the first time I tackled installing high bay LED lights in a warehouse. It felt like I was embarking on a mini adventure, with heights to conquer and precision to achieve. Here’s what I found essential:
Ladders and Scaffolding: You don’t want to find yourself halfway up and wobbling. A sturdy ladder that matches the ceiling height is crucial. For extended work, scaffolding offers unbeatable stability.
| Tool | Purpose |
|---|---|
| Ladder | Reach high installation points |
| Scaffolding | Stability for extended work |
Drilling and Mounting Equipment: My trusty drill never leaves my side. It’s perfect for securing fixtures, and having the right bits ensures those mounting brackets fit snugly.
- Mounting Brackets: These bad boys are the backbone of your fixtures. Always double-check they’re compatible with your lighting design.
Wiring Tools: Getting the wiring just right is key. Here’s what’s in my toolbox:
- Wire strippers
- Screwdrivers (both Phillips and flathead)
- Voltage Tester5
- Crimping tool
Safety Gear: I never skip on gloves, goggles, and hard hats—safety first when dealing with heights and electricity!
Wiring and Compatibility Considerations
Once, I underestimated the importance of checking electrical compatibility—never again! Using a voltage tester6 helps me ensure everything aligns perfectly with the fixture’s requirements, especially since most high bay LEDs run on 100-277V.
For wiring techniques that keep everything grounded and secure, especially in damp spots, I always refer back to my trusty guides.
Installation Best Practices
- Disconnect Power: Always turn off the power source before beginning any electrical work.
- Secure the Fixtures: Use chains or hooks, depending on the fixture type, to secure lights. Verify that the mounting system supports the weight.
- Adjust for Light Distribution: After installation, adjust fixture angles to achieve uniform illumination across the desired area.
Explore how smart control systems7 can add efficiency with dimmers and motion sensors.
Maintenance Tools
Keeping your setup in top shape is just as important as the installation itself. Regular inspections help me catch any dust buildup or loose connections early on.
A simple toolkit with cleaning supplies and maintenance tools has been my secret weapon for extending the life of these systems.
For more detailed advice, I often delve into routine maintenance practices8 that have kept my installations shining bright.
A voltage tester is unnecessary for LED installation.False
A voltage tester ensures power supply compatibility, preventing hazards.
Mounting brackets are critical for light fixture support.True
Mounting brackets ensure the stability and safety of the fixtures.
How Can You Troubleshoot Common Installation Challenges?
Ever been knee-deep in an installation only to hit an unexpected snag? We've all been there. Let me walk you through some tried-and-true strategies to tackle those pesky installation hurdles.
To troubleshoot common installation challenges, start by pinpointing the issue, double-check your installation steps, verify compatibility, ensure your system has enough resources, and don't hesitate to consult documentation or support if needed.
%[A technician working at a wooden desk with tools and a laptop]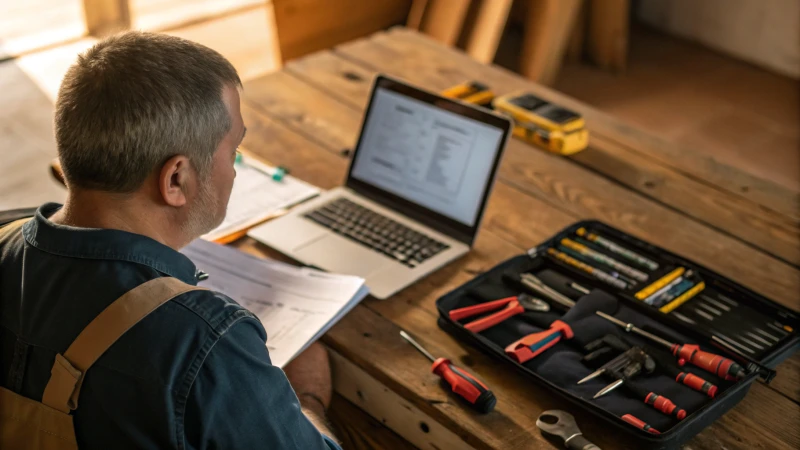
Identifying the Issue
We've all been there—staring at a screen with an ominous error message, feeling a mix of frustration and determination. First things first, jot down any error codes or messages9. They're like breadcrumbs leading you back to the solution.
Reviewing Installation Steps
Remember that time I thought I was missing a piece in a puzzle, only to find it stuck under my chair? Sometimes, installation is just like that. Go back over each step—you might find something you overlooked, like a crucial download or an unchecked box in the terms and conditions.
| Step | Description |
|---|---|
| 1 | Check prerequisites. |
| 2 | Follow prompts accurately. |
| 3 | Confirm file integrity. |
Checking Compatibility
Compatibility issues can be sneaky. It's like trying to plug in a device without checking if it's the right fit. Make sure your system ticks all the boxes for hardware specs10 and operating system requirements. Also, watch out for potential conflicts with other software.
Ensuring Adequate Resources
I once tried downloading a huge file on my ancient laptop, only to realize it was too slow to handle it. Ensure your computer has enough RAM, storage, and processing power. Running a system diagnostic11 can be a lifesaver.
Consulting Documentation or Support
If you're still stuck, don't worry—help is just around the corner. Dive into the software's official documentation or user forums. You'd be surprised at how often others have run into the same issues and found clever fixes. And if all else fails, reaching out to customer support can provide that extra bit of guidance.
Consider exploring troubleshooting guides12 online or joining community forums where other users share their experiences and solutions.
Error messages always indicate the exact problem.False
Error messages provide clues but may not always pinpoint the exact issue.
Checking system compatibility can prevent installation issues.True
Verifying hardware and software compatibility helps avoid installation failures.
Conclusion
Efficiently install high bay LED lights by assessing space, selecting appropriate fixtures and wattage, ensuring proper mounting and wiring, and adhering to safety codes for optimal performance.
Understanding mounting height helps optimize light coverage and efficiency, ensuring you choose the right specifications. ↩
Anticipating challenges aids in troubleshooting during installation, leading to a smoother setup process. ↩
Understanding wattage selection is crucial for effective lighting and energy efficiency. ↩
Smart controls can significantly improve energy efficiency and lighting management. ↩
Voltage testers ensure safe electrical connections by checking compatibility and preventing hazards. ↩
Voltage testers ensure safe electrical connections by checking compatibility and preventing hazards. ↩
Smart systems optimize energy use and improve efficiency with advanced controls. ↩
Learn maintenance tips to enhance the longevity of your lighting systems. ↩
Understanding error codes can help pinpoint issues during installation and guide you towards effective solutions. ↩
Checking hardware requirements ensures your system supports the software you're trying to install. ↩
Running a system diagnostic helps identify resource shortages that could impede installation. ↩
Troubleshooting guides offer comprehensive solutions for various installation challenges. ↩