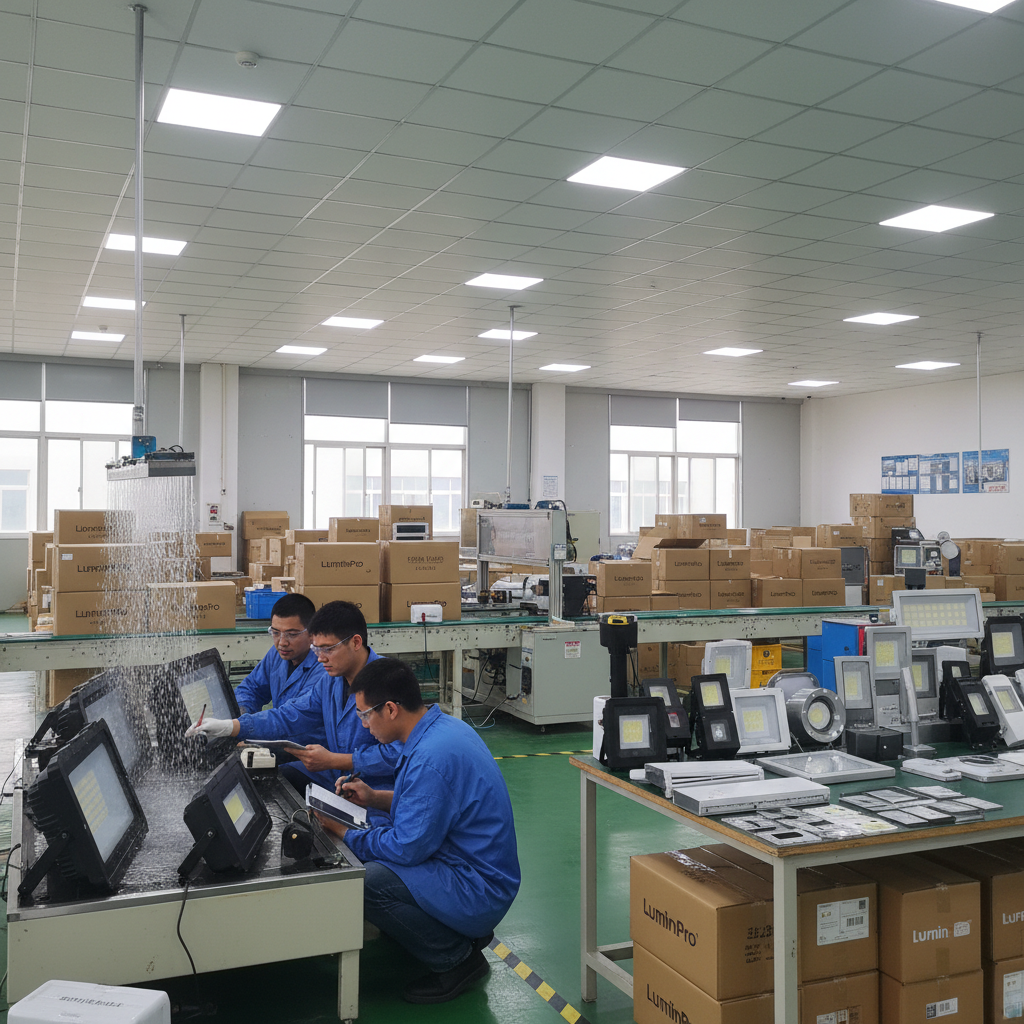

Ever thought about jazzing up your workspace with a DIY light box?
To create a light box using an LED strip, choose a high-lumen, uniform LED strip and mount it around the edges of a frame. Use a diffuser (like frosted acrylic) to ensure even light distribution and avoid hot spots. Proper power management and heat dissipation are crucial for longevity, and adding a dimmer or smart control can enhance functionality.
I remember when I decided to create my own light box—it felt like embarking on a mini adventure! Choosing the right LED strips was a bit like finding the perfect pair of shoes; they needed to fit just right. I opted for high-lumen density strips because I wanted my projects to shine, literally and figuratively. And let me tell you, ensuring proper diffusion was key. Using a diffuser material prevented those annoying hot spots, giving my setup that professional touch.
Mounting the LED strips took some patience, but once I had them secured with mounting clips, I could see my vision coming to life. This guide will walk you through each step with tips and tricks I picked up along the way, ensuring your light box not only looks great but performs beyond expectations.
LED strips must be high-lumen for effective light boxes.True
High-lumen LED strips provide sufficient brightness, crucial for light boxes.
Proper diffusion is optional in creating a light box.False
Diffusion prevents hot spots, ensuring even light distribution in a light box.
What Type of LED Strip is Best for Your Light Box?
I remember the first time I tried to set up my light box, overwhelmed by the variety of LED strips available. It's like finding the perfect piece of a puzzle!
To choose the best LED strip for your light box, focus on high-lumen options with a high Color Rendering Index (CRI). Proper diffusion and cooling, along with adjustable brightness, are key for versatile illumination.

Understanding Lumen Density
Picture this: You're in your cozy studio, setting up a light box to highlight your latest art piece. The secret to getting that perfect glow? It's all in the lumen density. High lumen density means brighter, more vibrant illumination. Personally, I aim for LED strips with 60-120 LEDs per meter. It ensures my artwork is showcased in the best light possible—literally! This ensures that your light box achieves uniform brightness1.
Importance of Color Temperature
I once spent hours trying to capture the essence of a beautiful sunset in a photograph. It wasn't until I switched to a neutral white color temperature (between 4000K and 6000K) that the colors truly popped. A high Color Rendering Index2 (above 80) ensures that the colors in your photos or artwork remain true to life.
Ensuring Uniform Light Distribution
Have you ever noticed those annoying bright spots when you look directly at some light boxes? That's a lack of proper diffusion. By using materials like frosted acrylic or polycarbonate, you can achieve a consistent glow, eliminating those pesky hot spots. I've found this technique not only enhances the aesthetics but also gives a professional touch to my displays.
| Material | Benefits |
|---|---|
| Frosted Acrylic | Softens light, reduces glare |
| Polycarbonate | Durable, excellent diffusion |
Mounting Techniques
Think about how you hang your favorite painting—carefully and thoughtfully. The same goes for mounting LED strips. Placing them along the perimeter of your light box hides them from view and ensures even light spread. Using aluminum profiles or mounting clips not only secures them but also keeps everything looking neat and tidy while preventing light leakage3.
Managing Heat and Power
I once had an LED strip overheat during an intense photography session—lesson learned! LEDs can generate heat, so make sure there's adequate ventilation or passive cooling like heat sinks. Matching your power supply to the wattage needs of your strips is crucial to prevent overheating and ensure reliable performance.
Control Features for Flexibility
Imagine adjusting the lighting with just a tap on your smartphone. By incorporating dimmers or smart controllers, you can easily modify brightness or color temperature based on what you're working on. Whether it's backlighting an artwork or setting up product photography4, smart controls offer tailored lighting solutions.
Frame Construction Considerations
When I think about building a light box, I consider it like constructing a sturdy house. The frame should be robust enough to hold both the LED strips and the diffusing material securely while ensuring easy access for maintenance and preventing any unwanted light leakage through the sides.
With these insights, selecting the right LED strip for your light box becomes less of a challenge and more of an exciting journey towards illuminating creativity.
LED strips with 120 LEDs/meter ensure uniform brightness.True
Higher LED density provides consistent light distribution, reducing dark spots.
Frosted acrylic is less durable than polycarbonate for diffusion.True
Polycarbonate offers superior durability while effectively diffusing light.
How Can You Master Light Box Diffusion?
Ever found yourself trying to capture the perfect photo, only to be thwarted by uneven lighting?
To achieve proper diffusion in a light box, choose frosted acrylic or polycarbonate to evenly scatter light, ensuring LED strips are correctly mounted and use dimmers for adjustable brightness.
%[A professional photography light box with frosted acrylic panels and LED light strips.]
Selecting the Right Diffuser Material
You know, I've spent countless hours fiddling with different materials trying to get that perfect glow in my light box. It's amazing how something as simple as a diffuser can make or break a shot. The first time I tried using frosted acrylic, it was like magic—suddenly, the harsh spots softened into a gentle, even light. On the other hand, polycarbonate is a great budget-friendly option, though it might not last as long.
| Material | Pros | Cons |
|---|---|---|
| Frosted Acrylic | Durable, excellent diffusion | Higher cost |
| Polycarbonate | Lightweight, affordable | Less durable than acrylic |
Mounting LED Strips Effectively
Mounting those LED strips was another adventure. I remember my first attempt—LEDs glaring right into my eyes! But then I learned the trick: position them along the edges or perimeter of the box. It's like giving your light box a secret weapon against uneven lighting.
Consider using aluminum profiles or mounting clips to secure the strips firmly. This prevents misalignment and ensures longevity.
Managing Power and Heat
Ah, the lessons I've learned about power and heat! When I first started, I didn't realize how much heat those little strips could generate. Now, I make sure there's plenty of ventilation, and I swear by high-quality power supplies.
For extended usage during long photo sessions, adding heat sinks on the fly can be a lifesaver!
Integrating Control Options
Control options are the cherry on top of your light box setup. I can't tell you how satisfying it is to tweak the brightness or color temperature with just a touch.
Whether I'm working on backlit artwork5 or product photography6, having that flexibility really makes a difference.
By weaving these techniques together, you'll have a light box that's ready for anything you throw at it—from stunning photography to eye-catching displays. Remember, each detail matters in creating that perfect illumination.
Frosted acrylic is cheaper than polycarbonate.False
Frosted acrylic is noted for being more expensive due to its durability.
Mounting LED strips at the edges ensures even light.True
Positioning LED strips along edges minimizes direct visibility and enhances diffusion.
How Do I Mount and Power My LED Strip for Best Results?
Installing LED strip lights can transform any space, but getting it right requires a bit of know-how. Dive into my experiences and learn how to mount and power your LED strips for the best results.
To mount and power LED strips effectively, select high-lumen strips, apply diffusion materials, secure with aluminum profiles, and manage heat with adequate power supply. Consider smart controls for versatility.

Choosing the Right LED Strip
I remember the first time I tried to pick an LED strip; it felt like choosing the perfect shade of paint. The key is high-lumen density for that bright, even glow. Once, I selected a strip with a color temperature that perfectly matched the warm tones of my living room, making it feel inviting yet modern. High CRI is crucial, especially if you want your art or photography to pop with true colors.
| Feature | Description |
|---|---|
| Lumen Density | High lumen output for bright lighting |
| Color Temperature | Warm tones for inviting ambiance |
| CRI (Color Rendering Index) | High CRI for true color visibility |
Ensuring Proper Diffusion
Oh, the difference a diffuser makes! Without it, you might end up with harsh light spots. I learned this the hard way when my kitchen counter looked like a disco floor. Using frosted acrylic gave me that soft, consistent glow, enhancing both the look and functionality of my space.
Secure Mounting Techniques
The first time I mounted an LED strip, it ended up sagging in the middle—not a good look. I found that using aluminum profiles or mounting clips does wonders. They keep everything neat and hidden, making the light distribution seamless. It's all about those edges for a balanced glow across surfaces.
- Aluminum Profiles: Provide heat dissipation and structural support.
- Mounting Clips: Easy to install and adjust.
Power and Heat Management
LED strips can heat up more than you'd expect. The first time I installed them, I didn't realize how important proper power supply and ventilation were until I noticed the performance drop. Matching the power supply to your setup's wattage and using heat sinks7 or passive cooling can make a world of difference.
| Consideration | Importance |
|---|---|
| Power Supply | Matches total wattage and voltage |
| Heat Management | Prevents performance degradation |
Integrating Control Options
Integrating smart controls was a game-changer for me. Imagine dimming your lights just by saying "Hey Google," or setting the perfect mood lighting for movie night from your phone. Smart controllers give you that flexibility to adjust brightness and hues based on your task or mood.
Designing the Frame and Enclosure
Crafting a sturdy frame wasn't just about aesthetics; it was also about practicality. It’s crucial for housing both the strip and diffusion material securely. I ensured easy access to power supplies for maintenance while keeping everything light-tight—directing the glow exactly where I wanted it without any leakage.
- Frame Access: Allows maintenance of power supply.
- Light-tight Design: Ensures focused light direction.
Conclusion
By following these best practices, I've managed to achieve not just functional but beautiful lighting in my spaces. Whether you're lighting up your kitchen, office, or gallery, a little attention to detail goes a long way in enhancing your lighting experience.
High CRI LED strips enhance true color visibility.True
High CRI ensures colors appear more accurate and vibrant, crucial for tasks like art.
Aluminum profiles are not recommended for heat dissipation.False
Aluminum profiles aid in heat dissipation, supporting LED strip longevity and performance.
How Can You Customize Your Light Box with Smart Controls?
Imagine turning your light box into a smart, mood-enhancing masterpiece—all from your phone. Let's dive into how you can make this transformation happen.
To customize your light box with smart controls, you'll need to connect a smart controller that works with your LED setup. This lets you tweak light intensity, color, and timing through an app or even voice commands.
Selecting the Right Smart Controller
Choosing the right smart controller is like picking the perfect playlist for a road trip—it's essential for a smooth experience. Look for controllers that sync seamlessly with your existing LED setup. I remember the first time I tried it; I was amazed by the app connectivity and voice control capabilities. Opt for products that support both Wi-Fi and Bluetooth, just like a good friend who’s always there, whether you’re online or off.
Setting Up and Integrating Smart Controls
Setting up smart controls might sound daunting, but it's like assembling a puzzle; once you find the corner pieces, the rest falls into place. Start by installing the smart controller as per the instructions—it usually connects to your LED strip's power source. Make sure it's within your Wi-Fi range to enjoy remote operations. Apps like Smart Life or Philips Hue are fantastic for intuitive control—I had a blast customizing mine!
| Feature | Compatibility | Benefits |
|---|---|---|
| Wi-Fi Enabled | Most LED strips | Remote access |
| Voice Assistant | Google/Amazon | Hands-free operation |
| App Integration | iOS/Android | Custom schedules |
Enhancing Functionality with Automation
Automation can take your light box from merely functional to utterly fabulous. It's like having your morning coffee ready before you wake up. Schedule your lights to mimic natural daylight for an energy boost or create an inviting ambiance when guests arrive. Platforms like IFTTT let you automate tasks based on triggers like time of day or location—talk about convenience! Explore more8 about setting automations.
Exploring Advanced Features
Today's smart controllers offer advanced features like mood lighting and syncing with music or TV. Remember the last time you hosted a party and wished the lights could dance to the beat? Now they can! Experiment with different modes to match your activity or mood and watch your space transform into a vibrant oasis.
Energy Efficiency Considerations
Incorporating energy-saving modes with smart controls is akin to upgrading from a clunky old car to a sleek hybrid. These modes adjust lighting based on ambient conditions, saving energy and enhancing convenience. Discover more about energy-efficient lighting9 solutions to make your setup both eco-friendly and wallet-friendly.
Transforming your light box with smart controls isn't just about tech upgrades—it's about creating a personalized environment that reflects who you are, all while embracing innovation.
Smart controllers need Wi-Fi for remote access.True
Wi-Fi connectivity allows remote control of smart lighting systems.
Voice assistants can't operate smart lighting systems.False
Voice assistants like Google and Amazon enable hands-free light control.
Conclusion
Learn to create a DIY LED light box with high-lumen strips, proper diffusion, secure mounting, and smart controls for adjustable lighting in photography and art displays.
This link offers practical methods to ensure even illumination across your light box using LED strips. ↩
Learn about the importance of CRI in LEDs and how it impacts color accuracy and visual appeal. ↩
Discover techniques to eliminate unwanted light leakage, maintaining a clean and professional look. ↩
Find out how to use LED lighting to improve product photography results with adjustable settings. ↩
Explore how dimmers can enhance lighting control, allowing you to customize brightness levels for diverse tasks. ↩
Discover how smart controllers offer flexibility in adjusting light settings, making them ideal for dynamic environments. ↩
Heat sinks dissipate heat from LED strips, extending their lifespan and improving efficiency. ↩
Learn how to use IFTTT to automate your lighting setup, adding convenience and efficiency to your home. ↩
Find energy-efficient lighting solutions that reduce consumption and enhance your living space's sustainability. ↩